Showing posts with label do it myself. Show all posts

Wednesday, June 12, 2013

how to antique ikea crap.

i've had a few people ask how i redid our dressers the past couple weeks, so i figured i would do a post on it, so that it can be here for all posterity to see.

i'm so glad i did it. hauling all of them downstairs to the garage was annoying, and having our clothes all over our room was also annoying, but the end result. ahhhhh. they go so much better with my vibe. 

we have the ikea malm bedroom set, because we were poor college students when we bought them, oh wait, we still are, yet we had no real taste. i tried to get new ones out of my husband.... buuuut he refused quite quickly and told me to deal with it. please, as if i deal with things. i make them better. for under $100 i was able to re-vamp our two night stands, and two dressers, which may seem like a lot to you, but our dresser at ikea is now on sale for $150, so it really did save us a lot of money. plus, they aren't hideous now, so i will be satisfied with them for longer. hehe

getting on with it. it's suuupppper easy to antique ikea stuff. because it's laminate furniture, paint doesn't stick very well to it, so when you want it to look chipped, ta-dah! easy peasy! 

** i apologize for crappy iphone pics. i couldn't find my sd card for my camera. dang children**

before: so incredibly cool looking. 

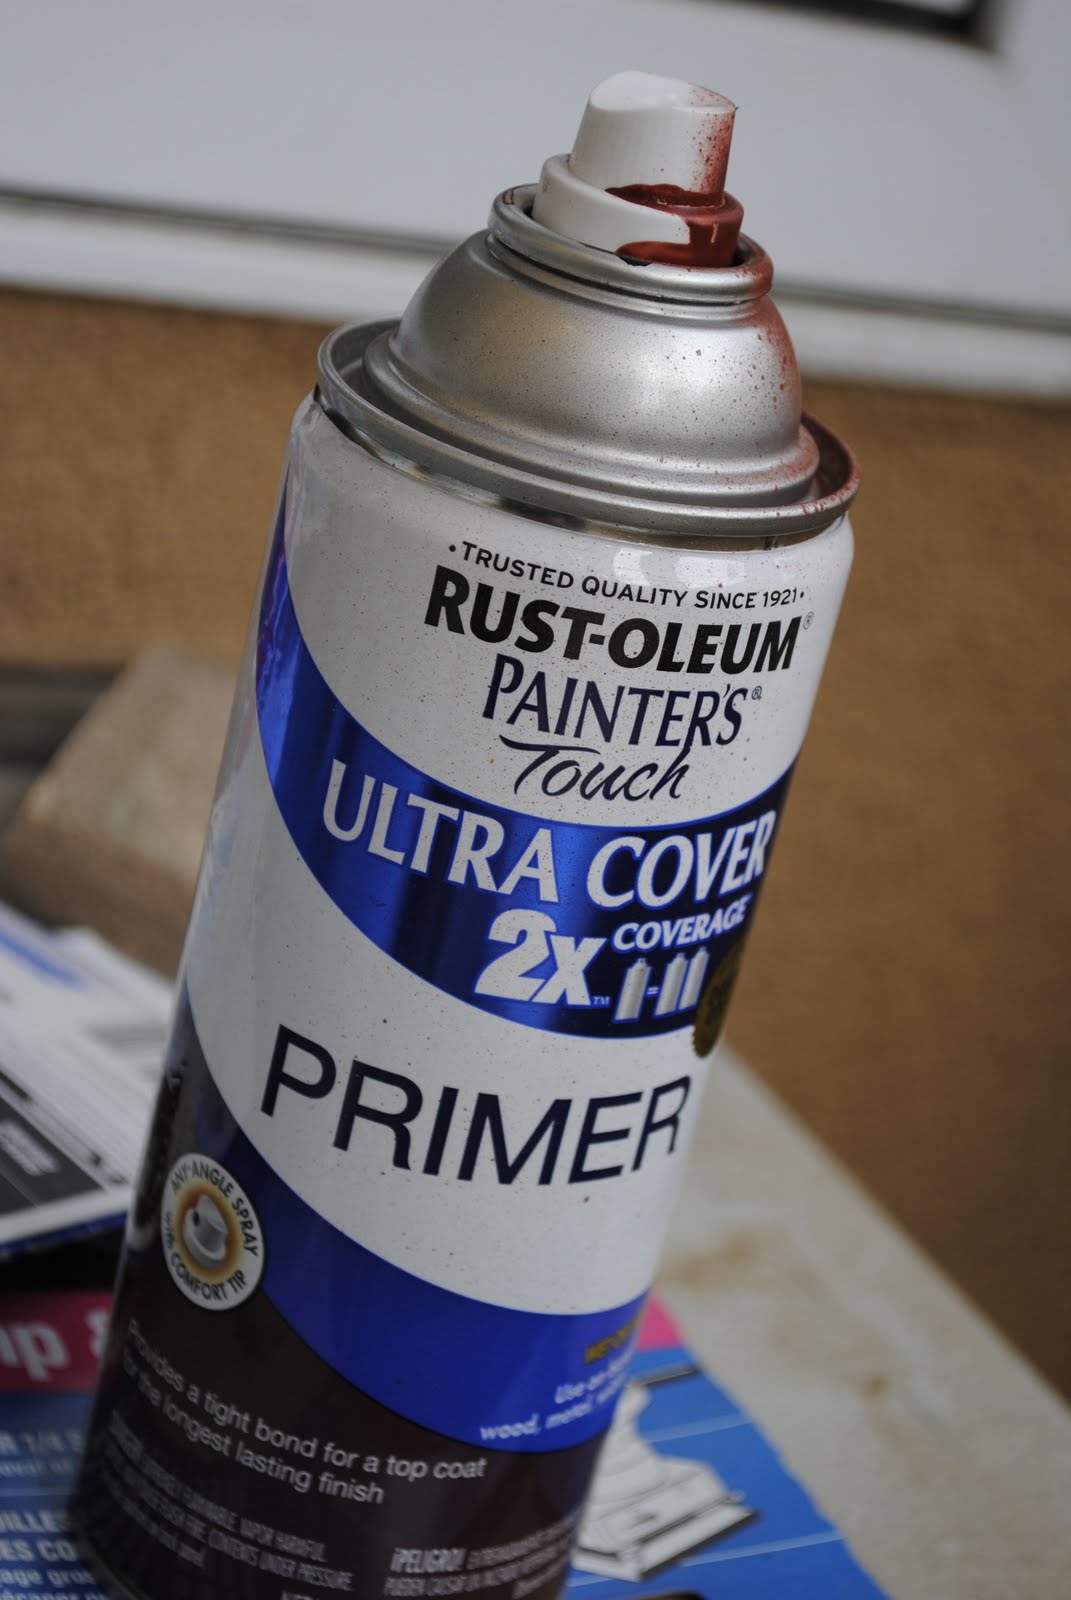
after reading several how-to's, i found that you needed a shellac based primer to paint laminate. here's the thing though: when you sand it down at the end, the primer does its job well, and you will be sanding through an additional color before you get to the laminate, which can look kind of weird. my solution:

step one: do a somewhat crappy coat of primer-- 
enough to coat the furniture, but not make the whole thing entirely white. 

**this is very very smelly. do it someplace ventilated, or where you don't have to breathe in the toxins!!**

 sidenote: if you just want to repaint and not antique them, do full coats of primer. the object of this is to be able to get the paint off, which is why you use less. 

you're supposed to let that dry for 24 hours before you paint it, so do that.

step two: paint. 
spray paint and i are bff's. don't judge. it's the same quality of paint as paint out of a can, it just leaves no brush strokes and is a lot less messy. use it. you won't be disappointed.

i typically use valspar or rustoleum. buy a higher end paint, if you don't, you'll end up needing to use more to cover. these run about $3-4 a can. and i think i used about 1 can per nightstand and about 2 per dresser.

first coat:

 second coat:

 third coat:

tips: spray the top first, let it dry, then lay it down on it's sides to prevent dripping. obviously, that's more challenging for a dresser, but it works well for a night stand.

spray about 12 inches away from the dresser. that will also help not dripping. you want a fine mist going on, not giant lines of paint.

after your paint has dried sufficiently, i would give it at least 6 hours or so, it's time to do my favorite part. sand!

step three: sand. 
i used sheets from my sander to do i. mine were medium grit, but you can use fine as well, it depends on how you want the "antiquing" to look.

when i start, i rub horizontally and vertically along the entire drawer. that scuffs it up a bit, then i do circles, so it doesn't look like i purposely put all these lines on it.

after you do that, you can gently sand specific areas down to get the distressed look. there is no right or wrong way to do it, except that you don't want to take off a whole chunk of paint, so the lighter the touch, the better.


after you are done sanding to your liking, the final step:

step four: seal. 
you must use this sealer-- the valspar one does not cover as smooth. spray two coats of this on to your dresser to seal your hard work and give it a glossy sheen. make sure you get all the dust off before you paint again!


step five: knob it. 
i wanted knobs on mine to make it look a little less like "ikea crap painted over". so if you do, you want your husband to drill holes in yours for you to put them in. for the dressers, we put two in each, for the nightstands, just one.

i bought mine from anthropologie on sale. because i am too cheap to pay $12 a piece for knobs, i go to their sale items and pick from my options. $2.95 a piece FTW!
{this was the most expensive part of the process, if you want to do it cheap, just paint it and call it good}


 and then: voila! 
the final product! i'm so happy with them! obviously, they aren't true vintage-y style nightstands due to their shape, so i did the best i could with what i had.

when i showed my spouse he said "ew. it looks like the paint is falling off of those. i don't like it". win for me, because that's exactly the look i was going for. haha! not too shabby for ikea eh?? 

after i finished those ones, i couldn't wait to do my dressers. they were supposed to be grey, i think the paint turned into being a little more blue than i would have liked, but oh well. 


now to finish organizing our room, now that i am done terrorizing it. i hope you decide to upgrade your college student furniture too! 

Sunday, January 20, 2013

crafting snafting.

for some reason, the last several weeks, i have been inspired to craft/redecorate. could be because all my stuff was sitting on the ground in the dining room and zak kept playing with it, or because all my christmas decorations gone make our house seem so boring. 

what's better to decorate for than the next holiday of lovey-dovey-ness? 

this last week, i crafted with some girls from dental school and made these cute things. So fun eh? Super easy with wood letters, mod podge and scrap book paper. We antiqued the edges with a chalk stamp. It's my favorite. 

I saw a ton of felt garlands on pinterest, and decided i should make one because i already have tons of felt from my headband making extravaganzas. you're technically supposed to sew it together, but i'm super lazy and just hot glued it. or maybe it's because i couldn't figure out how to thread the bobbin in the sewing machine. you'll never know. i originally only made one but then i saw it hanging on the frames all by itself and decided it needed another layer. much better. 
i want to make some more valentine-y things but i haven't decided what else is speaking to me yet. i need to stalk pinterest more.

on a different note, we may or may not have bought a french fry cutter to make veggies small enough for greysen to snack on. it's pretty awesome. so far we've baked sweet potato fries and regular fries and they're both delicious. and healthy{er} too. 

a long time ago, ok, like three months ago, i had a craft night at our house and made these chevron canvases. ok. that's not true. i tried to make them, but couldn't mathematically figure out how to make the stripes, so levi taped it. and i painted it. i have a cool husband like that. but, like the other things sitting on the floor in my dining room, i jut got around to finishing them now. i'm loving the addition to my dining room now. as a side note, aren't these printables like the cutest? totally googled "kitchen printables" and they showed up. i don't remember what website though, sorry! 


 this project was probably my favorite one. i'm especially proud of it. levi had a bunch of 2x4's left over from his garage cleaning up project, so i decided i would antique them and make them jewelry holders since i've been buying more from groopdealz. it's like an addiction. i love cheap jewelry. anyways, i stained them with apple cider vinegar and steel wool and then spray painted them cream and then sanded them down. i bought some knobs from anthropologie and then my crafty/genius husband figured out how to attach them to the wood. and here they have sat in our room. and every time i look at them, i burst with pride. ;) i also wear my stuff much more frequently now that it's not in a giant pile on my dresser.

i also made these burlap covered canvases at my craft night, and left them in the dining room because i couldn't find anything to do with them. then i realized that i could poke my earrings through it to hang them. GENIUS. sometimes i just amaze myself. 

that is a brief summary of my achievements this past week. i forgot how much i love to craft/decorate because i haven't done it in such a long time. funny how being awake during nap time can be so productive. 


Tuesday, June 5, 2012

the big reveal.

i know. you've been waiting in anticipation for what the room would FINALLY look like. it's understandable, because i feel that way too. but it is FINALLY done. minus finding the changing pad cover, boppy, and another box of clothes somewhere in the garage/shed, i think we're ready. 

forgive my iPhone pictures. i'm far too lazy to go and get my real camera, only to have to upload them onto my computer. apple created a sweet thing with photo stream, that's all i have to say. 

i think i did pretty good with my $100 budget. it was tricky i will have to say. i repainted/reused a lot of what we already had, hence why i needed to add another color, because we have nothing orange. but i love the combination of the orange and blue, so it's really worked out quite nicely.

 the lamp in the photo below we bought from ikea for $20, my crayon art supplies were bought from michael's for $7 and my pom pom's totaled about $8

but this is the room when you walk in. i need to fix the blue pom pom, now that i'm looking at this picture. it looks a little deflated. 
i also need to get another set of curtains for the window because these ones have grommets and just barely cover the windows when extended. i absolutely love them though, bought them from walmart.com for a mere $12 a piece. ahhhh i miss that place. 

 greysen's name cost me $25 total, the letters were $2 a piece and spray paint was $6. The orange frames were originally black, bought from ikea for $3 a piece and painted orange. we had the sheets and the bumper pads, so those were easy peasy. 

because i love pennant flags so much, i needed to make one for his room. and with my coupons and such it only cost me $7 at joann's. score. spray painted the clock next to the closet too with the left over metallic i had, so that was free as well. 

this wall's a little bare right now, due to not having the ability to hang shelving or anything, so i did my best with some printables. we had the frames already, and the paint, so i repainted them and i found the printables online and printed them off, so that was basically free too. 
i think they're so cute. i kind of want to add some more frames, because i like lots, but at the moment i probably won't. maybe when i get bored in the upcoming weeks.

 i think i went a little over budget by about $15 or so, i didn't actually add all of it up though, but i like it a lot. as we go on, i think i'll add more things, like the orange rug i really wanted, and some more things to put on the wall, but my dental school allowance isn't allowing for it at the moment. 

in any case, i like to come in and sit in it right now because it's so cute and peaceful. pretty soon it won't be quite as peaceful but it'll be even cuter with a baby in it. =) 

Tuesday, May 22, 2012

love.

phew, three posts in one day, i am awesome. 

while the potty training was infinitely more successful today, i had more time to continue the decorating fad that i'm on instead of stalking my child to make sure he doesn't pee on everything. i am absolutely loving the babe's room.  i decided that we needed to add another color besides grey and orange because 1. orange is really hard to find cheap. or find at all. 2. i needed to save money so i added a color we already had. i really like it a lot. 

i also absolutely love his name. and how it turned out. and it cost me a fraction of anthropologie. 
 i also think that my knobs look a lot less girly on the crib. but that's just my opinion. i still also love them.

these are my spray painted adventures. well not the lamp. but i painted the black mirrors and frames. someday they'll have pictures of the wee one, so excited! and my clock was a super ghetto white one that i stole from my parent's house, but i think that spray painting it gave it a little extra class. 


i also still love our crib bedding. and my crayon art. which is WAY messier than you would think. but it still looks great. 
now i'm just waiting for my fab curtains to arrive from walmart.com, {the best store ever. the fact that the closest one is 45 minutes away is very depressing. everything is so cheap there. target just isn't the same}

when it's all finished, i'll whip out pictures of the whole room. but for now just pieces will have to suffice. =) 


Thursday, September 8, 2011

re-do.

ok.... remember how i said i loved my frame wall? i did. until everyone kept asking when i was going to put pictures in the frames. i figured the wall looked too much like it should have pictures on it {which btw, would be waaaay too big of a shrine to us, as much as i love looking at pictures of ourselves}, and not enough like decorations. sooo, i searched high and low, and found some unique-er frames to put there.

before: 
oh boy, apparently i was missing a few frames in this picture. i didn't take any of it fixed, but it looks really bare here haha 


unfortunately, this home depot doesn't have the same color paints as the one in provo, so i had to improvise, and do half and half.... i kind of like the variety. what do you think? 

after: 


hopefully no one will come in asking where all the pictures are anymore. 

the more i look at it, the more i like the two colors together. they're pretty fun. 

Tuesday, September 6, 2011

september equals

fall. it may only be september 6th, but we are decorating for autumn already. and by we, i mean me. {like my spouse would ever decorate, or care to}. anyways,  i feel like i can decorate so much better here than in our old place, or it could be that i have more time on my hands. either one.

 here is my DIM {do it myself} for the day: 


i made my first penant flag out of scrapbook paper. i think i still like the fabric better, but this worked. i cut the letters out with my cricut, so that made it a whole lot easier, and then modpodged everything to make it a little more durable. 

i bought a packet of 300 sheets of seasonal scrapbook paper at Joann's for $7.50 today, so technically this cost me like $.25 or something ridiculous like that. 

this is apparently a terrible picture, but i repainted these ugly frames i bought from the dollar store last year to be creme, and then wrote the "i heart autumn" on one, and found the other subway art on google.

and i bought the cool centerpiece last year from walmart for $5.00. i wish we had walmart here....  
i can't wait to get more decorations. i love to be festive. 


and because no post is complete without an awesome picture of us, please enjoy this moment my mom captured while we were modeling for her:
if looks could kill.... 

Wednesday, August 17, 2011

starry.

i think i have finally found a balance in dental school-ness. zak and i have a different play group pretty much everyday, and after we socialize, i come home and do crafty things. it's working out well for me, because i don't feel like i spend my days in our house watching sesame street ALL day. 


so this was my DIY this week:


i have been searching to find something to put in our bathroom {it's made for handicapped people, so it's huge} that would take up some of the walls. 

enter joann's fabrics. their summer stuff was 90% off this week. which included these stars. plus, i had a 20% off your total purchase coupon. so i spent $2.23 total on the small ones, and $3.00 on the large one. which is a steal since the big one was $25.00 usually. score for me. 

enter my left over spray paint from my frame wall:

i ran out of blue paint, so i had to be creative with finishing it, because i couldn't do a second coat. 

the more i look at them, the more i dig the colors though. so i'm happy with my $5.00 craft. it makes my bathroom look so much better. 

i love decorating. and doing it myself. i should start a business or something. haha. maybe.... 


p.s. my birthday's tomorrow. hurrah hurrah!

Wednesday, August 10, 2011

end table.

remember this ol' thing? my score at goodwill for $7.00. my husband and i disagreed on how to paint it. i wanted to revert back to my trusty ol' spray paint. and he wanted to sand it down and stain it. i gave in, and he sanded the top and a door, and it has sat outside on our patio since the middle of june. it drove me  absolutely crazy because it's huge, and was in the way. 


so, levi lost. and i decided to do it my way anyways. and i absolutely love it. 

 this spray nozzle is the most amazing thing i've ever bought. makes painting so much easier. 
my husband also came out and taught me "the correct way to spray paint" {like you paint a car apparently} and that made it much more even and smoother. he's so smart. 

this is the first time i used a primer, and i would definitely recommend it. when i sanded afterwards, the color showed through very well. 


this was also the first time i used a satin finish, instead of glossy. i would recommend that as well, and then add clear gloss at the end. it makes it much more smooth and shiny than just the paint. 
first coat

 second coat

 finished! 
 it's hard to see in the picture, but it is quite sanded and rustic looking. it is fabulous. 
and it's much better than the hideous mismatching wood it was before. my husband has somewhat renigged his thoughts on how spray paint sucks. it takes waay less time than actual painting and looks smoother. 

win for me.